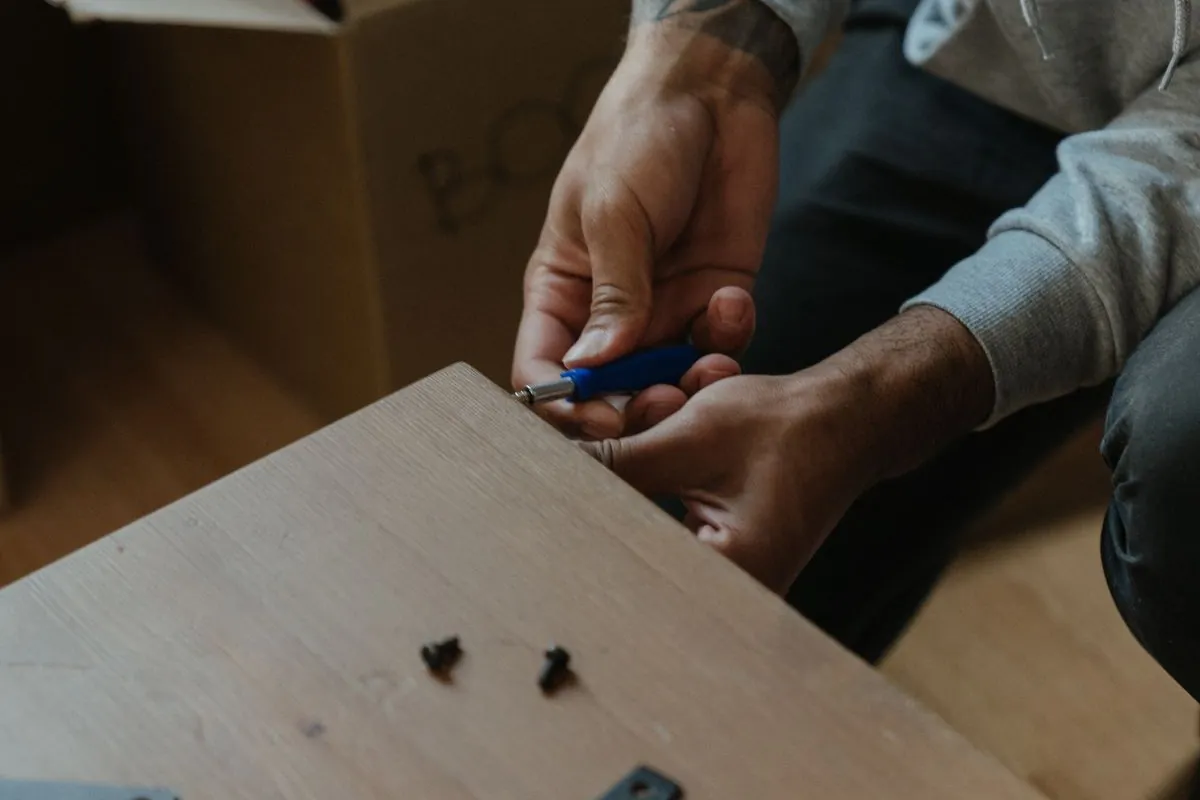
To disassemble furniture before disposal, work in the reverse order it was built: soft and loose parts first, then doors and drawers, then the top, then the carcass. What decides whether any of that is possible is not the size of the piece but the fixings holding it together — some were designed to be undone, and some were never meant to come apart at all. This guide covers how to tell which you have, the sequence that works on almost every piece, and the point where taking something apart stops helping.
When taking it apart is worth the hour
Most furniture leaving a Dubai home does not need to be dismantled first. A crew carries a wardrobe out whole faster than you can reduce it to panels, and the decision of whether to bother is a separate question with its own answer elsewhere on this site. The short version: it is worth it when the piece will not physically leave the room whole, when you are moving it yourself in a car, when it is going into storage or to a new home, or when it has already started to fail at the joints.
This guide assumes you have already decided. What follows is the method, not the argument for it.
Read the fixings before you touch anything
Turn the piece round, look at the back and the underside, and identify what is holding it together. Five kinds of fixing cover nearly all household furniture, and each one tells you something different about what is about to happen.
- Hex bolts into a threaded metal insert. Designed to be undone and redone many times. Common on bed frames, bunk beds and better solid-timber pieces. This is the easiest and most forgiving fixing you will meet.
- Cam lock and dowel. The flat-pack standard: a wooden dowel glued into one panel, and a metal cam that grips a bolt in the other. The cam releases with a half turn of a flat screwdriver. It comes apart once cleanly and goes back together noticeably weaker.
- Wood screws driven straight into particle board. The thread is cut into the board itself, so the board holds it once. Undo it and the same hole will never grip properly again. Fine when the piece is going for disposal; a problem if it is going to a new home.
- Bolts through a steel frame with a nut behind. Fully reversible, but it needs two tools at once — a spanner or socket behind, a key or driver in front. Common on desks, office chairs and metal bed frames.
- Staples and glue. Upholstered frames, drawer bottoms, the fabric on the underside of a sofa. This is not a fixing you undo. If a joint shows staples or a bead of dried glue and no fastener head, the piece was assembled to stay assembled.
The practical test is simple: if you can see a fastener head, the piece was designed to come apart. If you cannot see one anywhere on a joint, it was glued, and forcing it will break the panel rather than open the joint.
The order almost every piece comes apart in
Furniture is built from the frame outwards, so it comes apart from the outside in. This sequence works for a wardrobe, a chest of drawers, a sideboard, a desk and a bed with only small variations.
- Take out everything loose. Cushions, mattress, shelves that lift free, drawers, and any glass or stone top. A top that simply rests on the frame is usually the single heaviest and most fragile part of the whole piece.
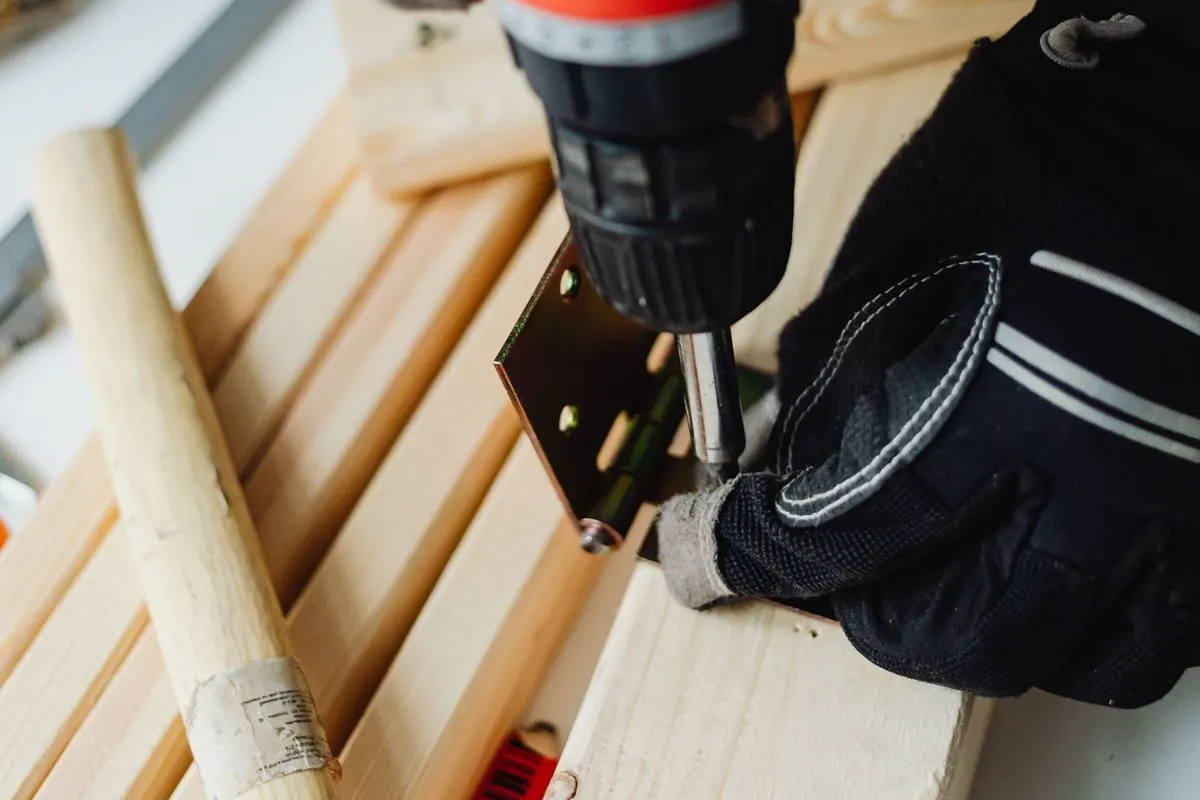
- Take the doors off. Work on the hinge, not the handle — on most cabinets the hinge plate stays on the carcass and the door releases from a clip or a single screw. A door removed is a third of the weight gone and a much narrower object to move.
- Lay the piece down before you undo anything structural. A tall carcass that loses a fixing while standing will rack sideways and put its own weight on the remaining joints. Put it on its back on a sheet or flattened cardboard first.
- Take the back panel off after the piece is down, not before. Thin backing board is what keeps a carcass square. Removing it while the piece is upright is the commonest way to turn a clean job into a broken one.
- Work top panel, then sides, then base. Support the panel you are releasing with your free hand — a shelf or side that drops half a metre onto a tiled floor will chip its edge and take a chunk of the floor with it.
- Stack each panel flat as it comes off, face to face, largest at the bottom. Panels leaning against a wall slide, and a falling melamine panel edge does real damage to a skirting board.
A bed is the exception worth knowing. It comes apart in the reverse order it was carried in: mattress, slats, then the side rails last, because the rails are what hold the head and foot boards upright.
The tools that cover almost everything
A small kit handles the large majority of household furniture. You do not need a workshop, and buying specialist tools for a piece you are throwing away rarely makes sense.
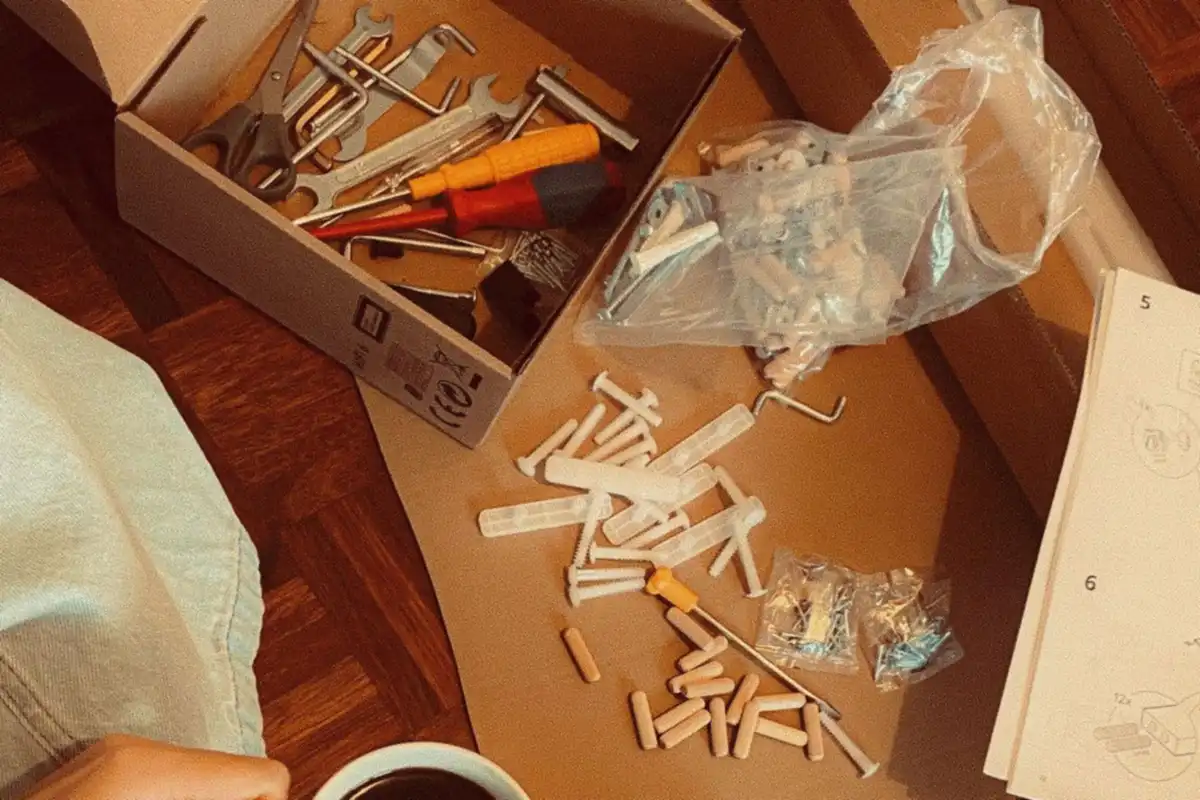
- A set of hex keys. The key that came in the original fittings bag is the right size if you still have it; a cheap set covers everything else.
- A cross-head screwdriver and a flat one. The flat blade is what turns cam locks and lifts trim strips, so it earns its place even though almost nothing is a flat screw any more.
- An adjustable spanner or a small socket set, for anything bolted through a metal frame.
- A cordless driver, if you have one. It is genuinely faster on a piece with forty screws in it — but set the torque low and stop the moment a screw feels loose, because it will strip a chipboard hole in half a second.
- A dust sheet or flattened cardboard to work on, and a container for the fittings. A tub is better than a bag; bags get stood on.
Work with the piece somewhere you can walk all the way round it. A wardrobe pushed into a corner is the reason most half-finished dismantling jobs stay half-finished.
What to do with the panels and the fittings
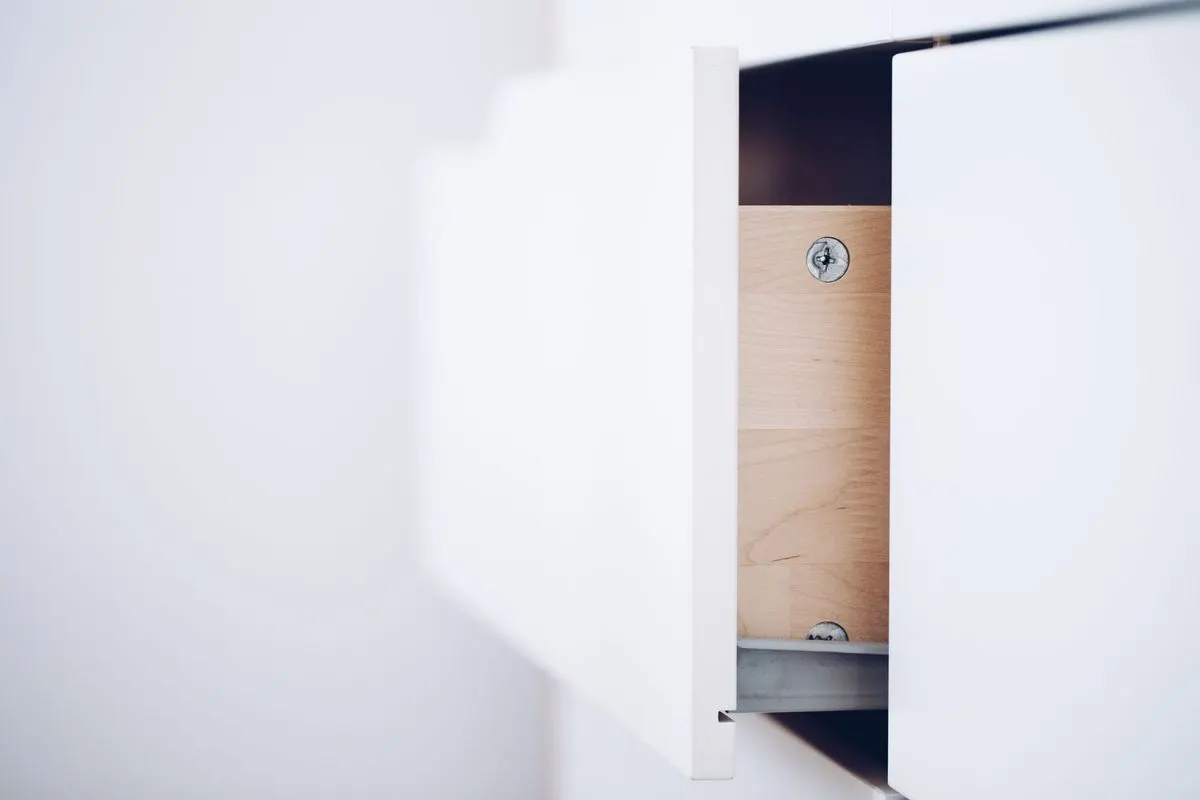
Whether the fittings matter depends entirely on where the piece is going. If it is going for disposal, the bag of cam bolts and dowels is not worth keeping — nobody is rebuilding it, and the metal is recovered on material value regardless of whether it is still in the panel. If the piece is going to a buyer, a charity or into storage, the opposite is true: a flat-pack unit with its fittings missing is scrap, because the replacements are rarely findable for a specific model.
When they do matter, tape the container to the largest panel rather than putting it somewhere sensible. Sensible places are exactly where it will be left behind. Photograph the piece before you start and again halfway through, too — that costs a minute and saves an argument with yourself later about which panel faced out.
One local point on where you do the work: a stack of panels in a shared corridor or a lift lobby is a building management issue in most Dubai towers, and a fire-escape route in all of them. Keep the parts inside the flat until the collection is on its way up.
Where it usually goes wrong
Four mistakes account for most of the damage, and all four are avoidable once you know they exist.
- Starting at the back panel. It is the easiest thing to remove and the worst thing to remove first, because everything else depends on it holding the carcass square.
- Turning a cam lock the wrong way and forcing it. The cam moves through a half turn and no further. If it is not releasing, it is either already open or you are turning it the wrong way — more force only rounds out the slot.
- Losing patience part-way. A wardrobe with its doors off and its carcass intact is bigger, heavier and more awkward than the wardrobe you started with. Either finish or do not start.
- Trying to dismantle a piece with glass or a mirror bonded to it. Mirrored doors and glass tops are almost never fixed in a way that comes apart safely at home, and a mirror panel that flexes will crack across its middle without warning.
When to stop and move it whole
Some pieces should not be taken apart at all, and recognising them early saves both the piece and your afternoon.
- Anything with a spring or a gas strut. Recliner mechanisms, lift-up bed bases and gas-lift chairs hold stored energy, and the fixing you are undoing may be the one holding it.
- Upholstered frames. Staples and glue, no fasteners, and a hardwood or steel frame underneath that is not going to yield to a screwdriver.
- Anything fixed to the wall above head height. Take it off the wall first, on the ground, as a separate job — dismantling something while it is still bracketed to a wall is how a panel ends up on somebody's head.
- A piece where you cannot find a single fastener. That is the piece telling you it was glued, and glued joints break the board rather than open.
If the reason you started was that the item will not fit through the door, and it turns out it will not come apart either, that is a genuine answer rather than a failure. It means the route, not the item, is the constraint.
What to say when you book the collection
Mention the state the piece will be in when the crew arrives, because a stack of flat panels and an assembled wardrobe are handled differently. Panels are lighter per trip but there are more trips, they need stacking in the vehicle rather than standing, and sharp melamine edges want a sheet under them in a lift.
Say so as well if it is only part done, and say so if any glass came off the piece and is travelling separately. Neither causes a problem when it is known in advance; both cause one when the crew finds out at the door.
The whole job comes down to one habit: look at how the piece was put together before you decide how to take it apart. A few minutes spent finding the fastener heads tells you the sequence, the tools and whether the piece will survive the process — and it turns what looks like demolition into something closer to reading a set of instructions backwards.