Floor damage during a furniture removal happens at a small number of predictable points, not evenly along the whole route out of a home. That's the useful thing to know before a collection, because it means protecting a floor well is about targeting those points properly rather than trying to cover every metre of the journey.
Where the damage actually happens
The corners and handrails at a route's tightest turns take nearly all the wear on a typical collection — a fact worth building the rest of the plan around rather than treating as a passing detail.
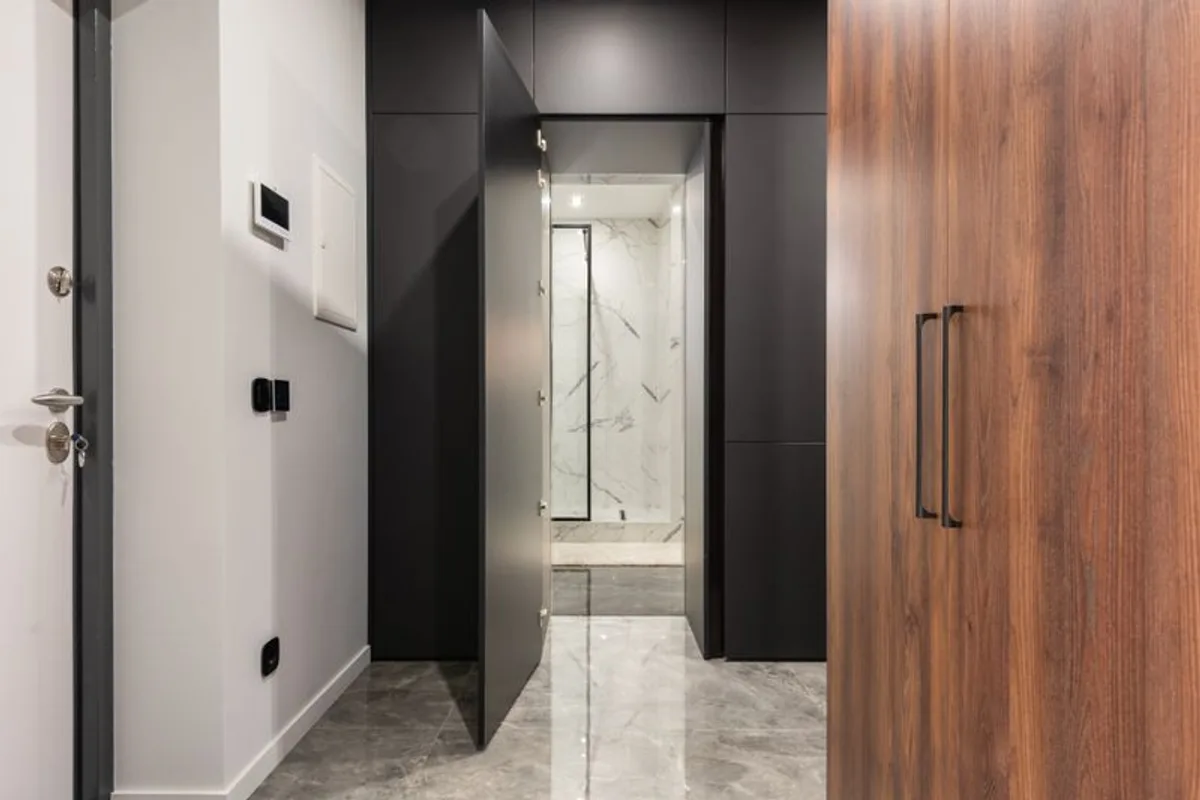
- A doorframe corner on a turn, where a carried item swings closer to the wall than the carriers can always see.
- A threshold strip where the flooring changes, which takes repeated scraping as items are angled over it.
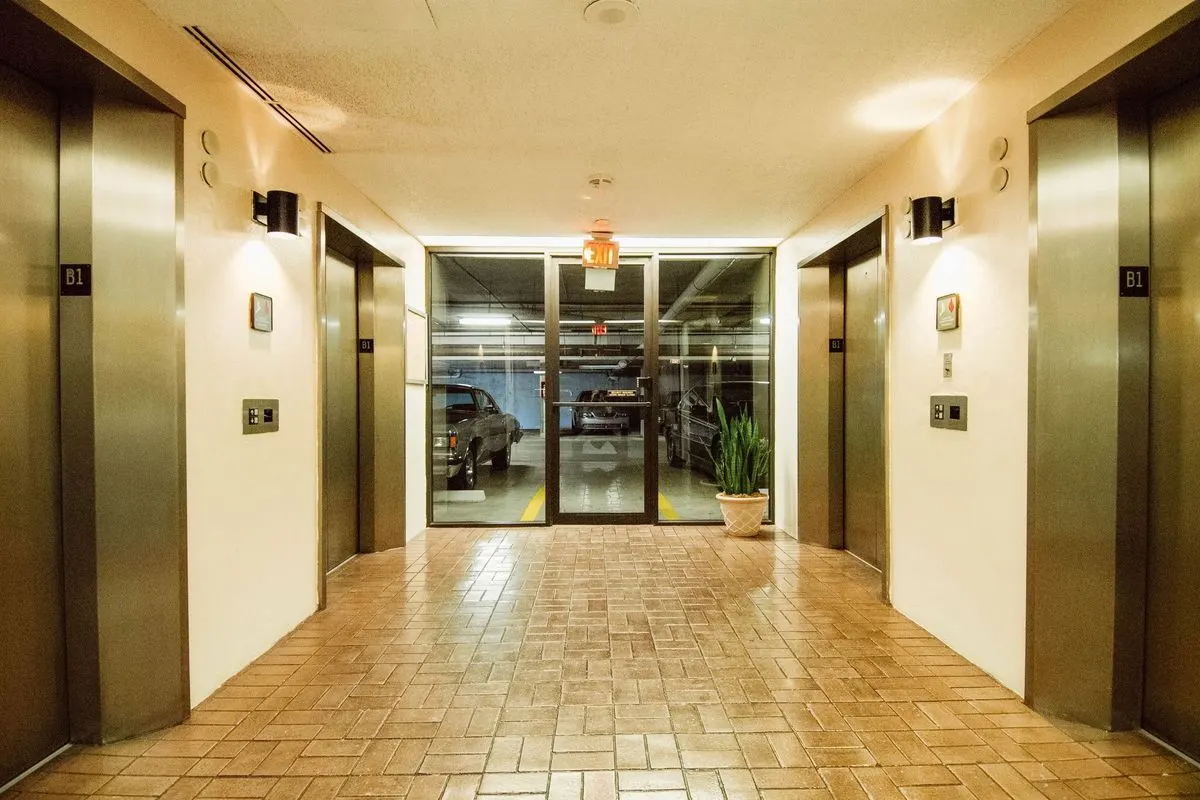
- The inside corners of a lift car, hit by the same load, trip after trip.
- The spot where a heavy piece is set down mid-carry to rest, rather than carried straight through in one go.
What Dubai's common floor types are actually up against
Different flooring fails in different ways, and knowing which failure applies changes what's worth protecting against.
- Large-format porcelain tile — chips at an edge or corner under a dropped weight, rather than a surface scratch.
- Polished marble — fine scratching from grit dragged underneath something, more often than from the load itself.
- Engineered timber — dents from a point load, a chair leg or a table corner, rather than a scratch across the surface.
- Carpet — crushing and staining from repeated foot traffic and set-down points, rather than either of the above.
Each failure mode points to a different fix. Grit gets swept off a marble route before the job starts, not padded over once it's already underfoot. A heavy point load gets its weight spread across a wider surface before it reaches engineered timber, rather than cushioned after the fact.
What actually gets used to protect a floor
- Moving blankets, mainly to protect the item itself where it rests against a wall or another piece, rather than the floor beneath it.
- Flattened cardboard or a rigid runner laid over tile or marble along the actual carry route.
- Corner guards, or simply folded cardboard, at door frames and pillar corners where a load swings closest to the wall.
- Masking or painter's tape rather than anything stronger — a heavier adhesive tape can lift paint or a wood finish when it's removed.
Protecting the route stage by stage
- Just inside the front door, where the first turn on the route usually is.
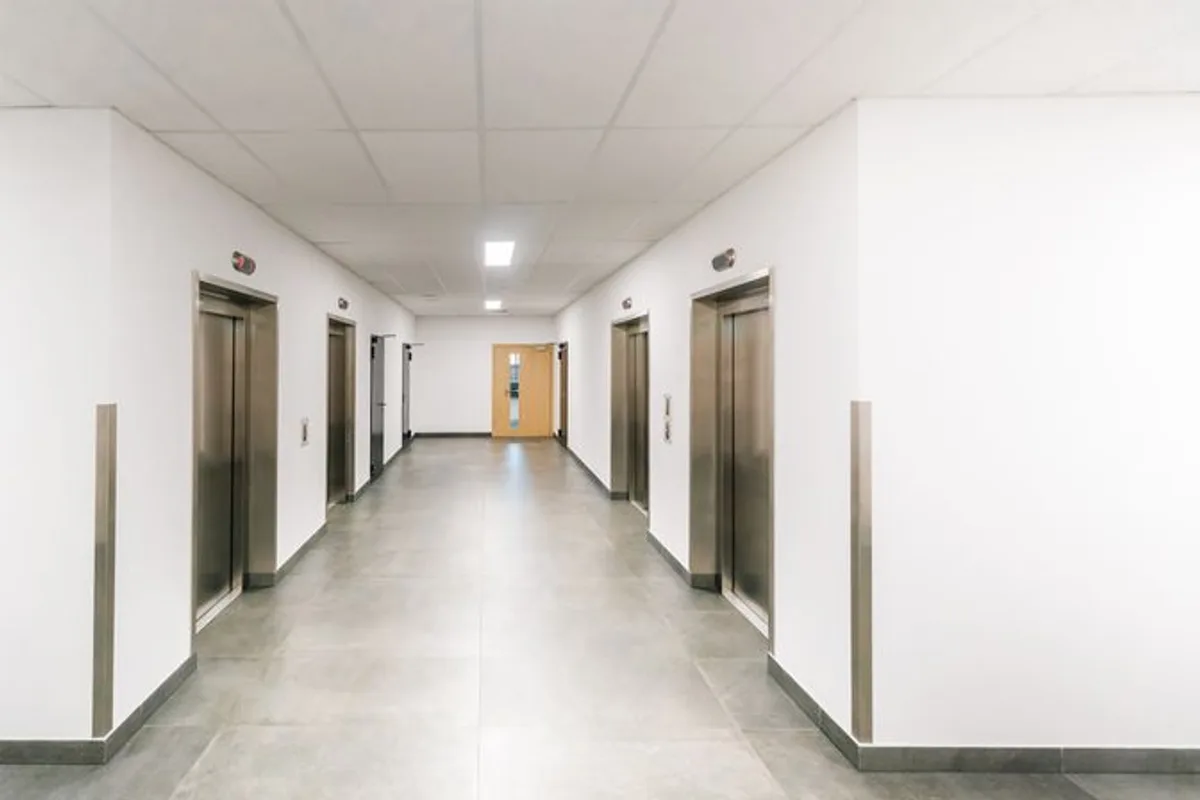
- The corridor or lift lobby corners the item's largest dimension actually has to clear.
- The lift car itself, if the route goes through one, since it takes the same wear on every single trip.
- The last stretch to the loading bay or driveway — easy to skip because it already feels like the outdoors.
Whose job the protection actually is
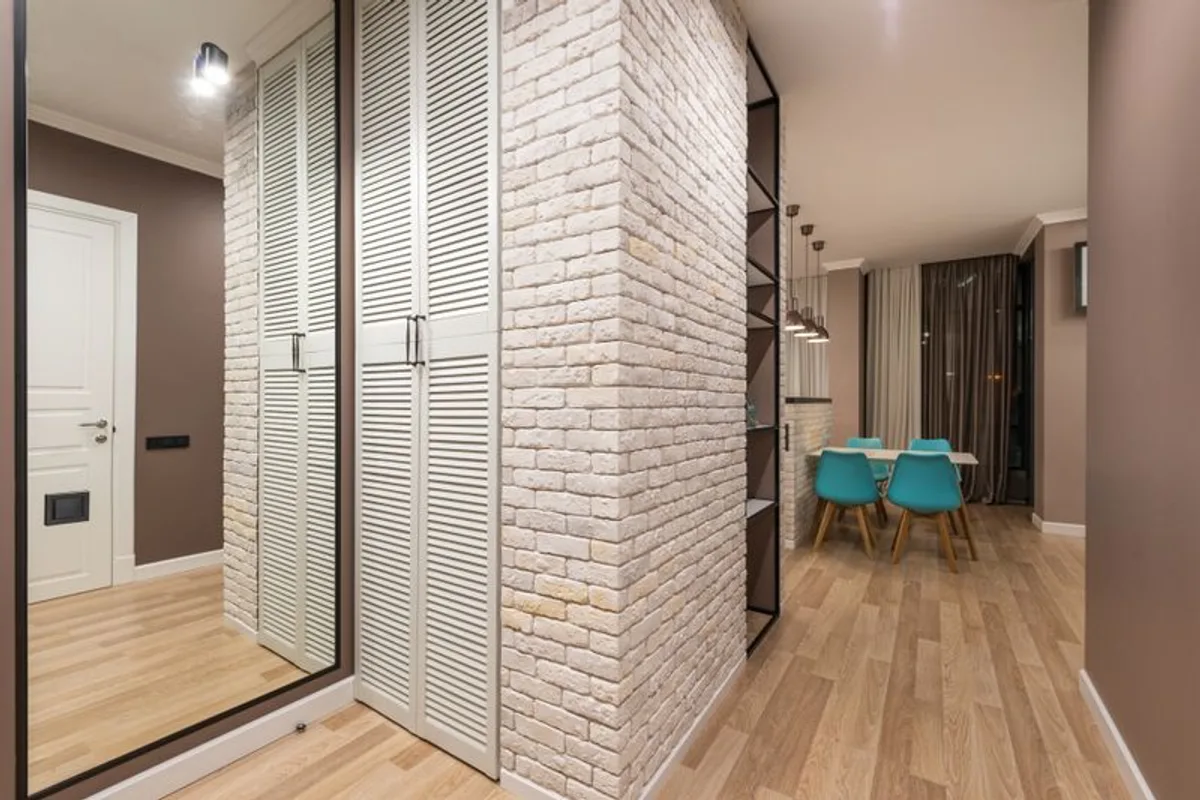
A company that does this work regularly brings floor protection as standard practice, not as an extra to request. The resident's genuinely useful role is pointing out anything unusually fragile, or already marked, before the crew starts, since nobody arriving for the first time knows a floor's history. Where a building holds a refundable damage deposit, the inspection that releases it happens after the job — which connects directly to how well these few points were covered on the day, not to the visit as a whole.
A two-minute check before the crew arrives
Walk the route once and note anything already marked or scuffed — a quick phone photo is enough — so nothing pre-existing gets attributed to the day's work. Do this exactly where a deposit inspection would later look: the entrance, the lift car if there is one, and the corridor immediately outside your own door.
Floor protection is not about wrapping an entire home before a crew arrives. It is about knowing the handful of points on the route that take the wear, using the right material at each one, and checking those same points before and after the visit rather than assuming they were fine the whole way through.